guides
Espresso Grind Size Guide: Dial In the Right Setting
How grind size affects espresso extraction, where to start on common grinders, and how to adjust grind for sour or bitter shots.
For espresso, grind finer than table salt — roughly the texture of fine sand — but coarser than flour. The exact setting varies by grinder model; most sit between 1 and 5 on the fine end of their dial. Start at the recommended espresso setting, then adjust finer if shots pull under 22 seconds and coarser if they pull past 35.
Why does grind size matter so much for espresso?
Espresso forces hot water through compressed coffee at 9 bars of pressure in roughly 25-30 seconds. At that pressure, grind size is the primary throttle controlling how fast or slow water moves through the puck.
Too coarse and water blasts through in 15 seconds, producing a sour, under-extracted shot. Too fine and water struggles to move at all, producing a bitter, over-extracted shot — or no flow whatsoever. Unlike drip coffee, where grind size shifts flavor by maybe 20%, in espresso a change of one or two grinder clicks can swing shot time by 3-8 seconds and completely flip the taste. The margin for error is narrow, which is also what makes dialing in so satisfying once you understand it.
What does the right espresso grind look and feel like?
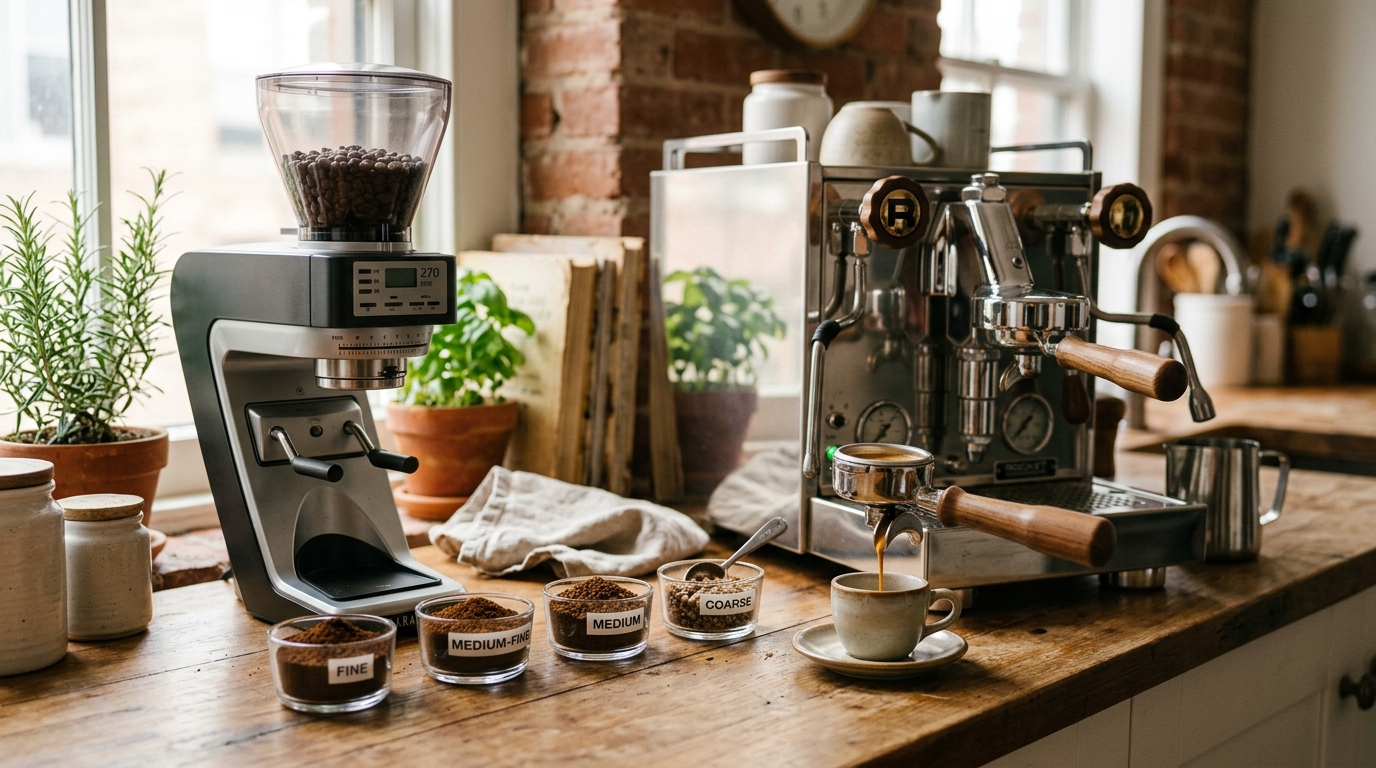
The tactile test: pinch ground espresso between your fingers. It should feel:
- Finer than coarse sea salt or beach sand
- Similar texture to fine table sugar or fine salt
- Coarser than flour, cornstarch, or baking powder
If it feels powdery (like flour), you are grinding too fine — the puck will choke the machine. If it feels pebble-like (like coarse sea salt), you are grinding too coarse — shots will run in well under 20 seconds.
The visual test: ground espresso should clump slightly when compressed in your palm, not fall apart immediately, and not form a completely solid mass. Clumping is normal and expected; it is why distribution and WDT tools exist.
Where should I start my grind setting?
Every grinder has its own scale and numbering. Here are starting points for the most common home espresso grinders:
| Product | Best for | Rating | Notes | |
|---|---|---|---|---|
| Baratza Encore | Entry-level stepped burr | — | Settings 5-10 for espresso. Start at 8, pull a shot, adjust toward 5 if running too fast. | — |
| Baratza Sette 270 | Stepped conical, espresso-focused | — | Start at 1.2 or 2.0. The Sette scale runs coarser than expected — espresso lands very low on the dial. | — |
| Eureka Mignon Specialita | Stepless flat burr | — | Start at 2.5-3.0 on the dial. Stepless means tiny increments; rotate a quarter-turn at a time. | — |
| Niche Zero | Conical single-dose | — | Start around 15-20 on the 0-50 scale. Most users land between 12-25 for espresso. | — |
| DF64 / DF64 Gen 2 | Flat burr single-dose | — | Start at 3-4. The flat burrs produce wide particle distribution; may need finer than expected. | — |
| Timemore Chestnut C3s | Hand grinder, budget or travel | — | Clicks 8-15 for espresso. Start at 12, adjust toward 8 if pulling fast. | — |
These are starting points only. Beans, roast level, humidity, and machine pressure all shift the optimal setting, which is why you need to pull a test shot and adjust from there.
How to adjust grind size: step by step
Step 1: Pull a reference shot
Before touching the grinder, pull one shot with your current setting and record three things:
- Yield — how many grams of espresso (target: 2x your dose; for 18g dose, stop at 36g)
- Time — seconds from pump start to reaching your yield target
- Taste — sour, bitter, or balanced?
This is your baseline. Every adjustment you make references back to it.
Step 2: Diagnose the result
Use this logic:
- Shot pulled in under 22 seconds at your target yield → grind too coarse → go finer
- Shot pulled in 22-28 seconds → good range; let taste decide further moves
- Shot pulled in 28-35 seconds → acceptable; taste guides the next step
- Shot pulled in over 35 seconds → grind too fine → go coarser
- Machine choked (no flow, pressure spike) → grind much coarser immediately
Step 3: Adjust in small increments
Change one click at a time on a stepped grinder, or rotate a quarter-turn or less on a stepless grinder. A single click shifts shot time by 2-5 seconds on most espresso grinders. Bigger jumps overshoot the target and make it hard to find the dial-in point.
Step 4: Purge the grinder
After changing the grind setting, grind and discard 3-5 grams before pulling your next shot. This clears old-setting grinds sitting in the chute. Skip this step and your test shot reflects the old setting, not the new one.
Step 5: Pull and evaluate again
Same process: yield, time, taste. Repeat steps 2-5 until you hit 25-30 seconds with a balanced taste. Most dialing-in takes 3-6 shots when you are within a reasonable range of the right setting.
Step 6: Record your setting
Once dialed in, write down the grinder number plus the bean name and roast date. When you open the same bag next time, you know exactly where to start.
Does roast level change the right grind setting?
Yes, significantly. Darker roasts are more porous and brittle than lighter roasts — they extract faster at the same grind. The practical effect:
- Light roasts: grind finer than your medium-roast baseline. Light beans are denser and resist extraction more. Expect to go 3-6 clicks finer than with medium roasts.
- Medium roasts: your standard reference point. Most espresso grind guides assume medium roast.
- Dark roasts: grind coarser than medium. Dark beans extract quickly and can turn bitter fast; a coarser grind protects against harshness.
When switching roast levels dramatically — especially light to dark or vice versa — plan to re-dial fully, not just shift a click or two.
Does bean freshness affect grind size?
Yes, and the relationship follows a predictable pattern:
- 1-3 days off roast: beans are actively degassing CO2. Shots may channel or pull erratically regardless of grind. If possible, wait before dialing in.
- 4-7 days off roast: degassing slows and extractions stabilize. This is when to start dialing in seriously.
- 7-21 days off roast: the sweet spot for most espresso roasts. Grind stays stable within this window.
- 21-42 days off roast: beans have lost most CO2 and become more permeable. You may need to grind slightly finer to maintain the same extraction time as beans become easier to extract.
- 6+ weeks off roast: extraction becomes unpredictable, bitterness compounds, and no grind setting fully compensates. Swap the bag.
Flat burr vs. conical burr: does it change the grind?
Grinder burr geometry affects flavor character but not the basic adjustment logic. Both types work well for espresso.
Flat burrs (Eureka Mignon, DF64, most upgrade burr sets): produce a bimodal particle distribution — many fine particles and many coarse particles, fewer in the middle. This often produces clarity and brightness in the cup. Dialing in flat burrs can be slightly trickier because the bimodal distribution is less forgiving of a single grind setting.
Conical burrs (Baratza Sette, Niche Zero, most hand grinders): produce a unimodal distribution with more particles in the middle range. Shots tend to be fuller-bodied and slightly more forgiving to dial in. Most commercial machines use conical burrs.
Neither is objectively better. Flat burrs have become dominant in specialty espresso circles. Conicals remain the mainstream choice in high-volume cafes and commercial grinders. Pick based on the flavor profile you prefer — or the grinder that fits your budget and workflow.
Recommended grinders for home espresso
Best for home baristas who want fast, easy grind adjustment
Baratza Sette 270 Espresso Grinder
The Sette 270 grinds directly into the portafilter with minimal retention, making shot-to-shot adjustments fast and waste-free. Stepped adjustment means you can reliably return to a known setting between bags. The conical burrs produce full-bodied shots. At around \$350-400, it is the go-to recommendation for anyone serious about home espresso who does not want to spend \$600+.
★★★★★ 4.5 · 2,800 reviews
Check current price on Amazon→Best for precision stepless adjustment and flat burr espresso
Eureka Mignon Specialita
Stepless adjustment lets you land exactly where you want without being locked to preset clicks. The 55mm flat burrs produce bright, well-defined espresso. Quiet motor, compact footprint, and well-built for a decade of daily use. Around \$500-600 new — a strong choice for those who prefer flat burr character or want finer control than stepped grinders offer.
★★★★★ 4.6 · 1,900 reviews
Check current price on Amazon→Best for budget espresso or travel use
Timemore Chestnut C3s Hand Grinder
At around \$80-100, the Timemore C3s produces espresso-quality grinds from a compact hand grinder. Stepped adjustment is precise and repeatable. Takes 40-60 seconds per dose — not practical for multiple daily shots, but excellent for occasional home espresso, travel, or testing whether you enjoy dialing in before investing in a full electric grinder.
★★★★☆ 4.4 · 3,200 reviews
Check current price on Amazon→What if my grind never dials in?
If you have adjusted across 15+ clicks and cannot find a setting where shots taste balanced, grind size is probably not the root problem. Consider:
- Stale beans: past 6 weeks off roast, no grind setting rescues the flavor
- Wrong dose: verify you are using the right amount for your basket size (18g for an 18g basket; never overfill)
- Channeling: uneven puck prep sends water through the path of least resistance — no grind setting fixes this without also fixing distribution and tamping
- Machine pressure: espresso machines should run at 9 bars at the puck; machines below 7 bars or above 11 bars throw off the entire extraction model
- Water quality: highly chlorinated or extremely hard water affects extraction predictably; use filtered water, not RO water (minerals are needed for taste)
FAQ
Frequently asked questions
How fine should espresso be ground?
How many clicks should I adjust when dialing in espresso?
Why does my grind setting change every time I open a new bag of beans?
Should I grind finer or coarser for a ristretto?
Do I need to purge my grinder after changing the setting?
Can I use a blade grinder for espresso?
Bottom line
Grind finer when shots run fast or taste sour. Grind coarser when shots run slow or taste bitter. Change one click at a time, purge the grinder, and pull a test shot after every adjustment. Within 3-6 shots you should be in the right zone. Re-dial with every new bag of beans — it gets faster each time until it becomes a 2-shot habit rather than an ordeal.
For the full dialing-in process beyond grind size: home espresso setup guide. For grinder recommendations at every budget: best espresso grinders. For step-by-step shot technique: how to pull a perfect espresso shot. For puck prep tools that work alongside grind adjustment: best WDT tools.